Step-by-Step Cleaning Process
1. Preparation Phase
Before diving in, ensure your oven is completely cool and well-ventilated. Remove everything from your oven, including:
- Racks
- Temperature probes
- Pizza stones
- Any other removable items
2. Initial Clean-Up
- Vacuum or wipe out loose debris
- Use a dry brush to remove any loose particles
- Wipe down surfaces with a damp cloth
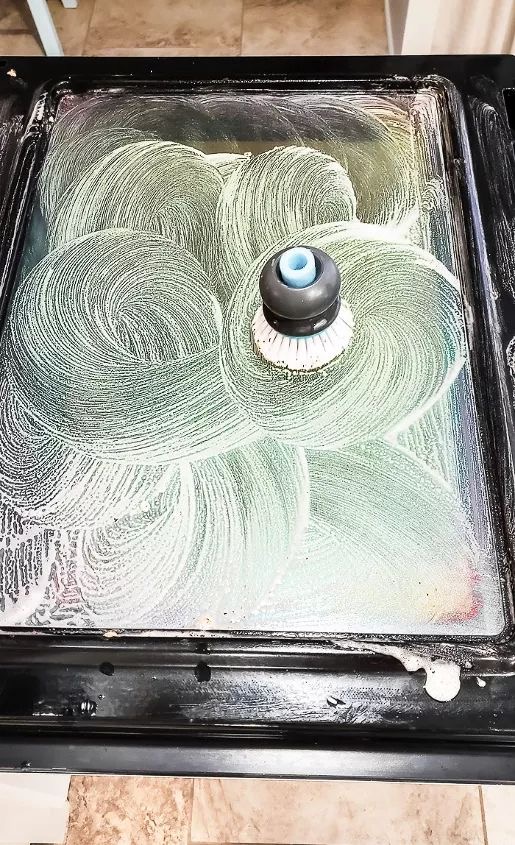
3. Creating Your Natural Cleaning Paste
Mix together:
- ½ cup baking soda
- Water (add gradually until you achieve a spreadable paste)
- 2-3 drops of natural dish soap
- Optional: squeeze of lemon juice for extra grease-cutting power
The consistency should be similar to toothpaste – spreadable but not runny.
4. Application Process
- Put on your rubber gloves
- Using a spatula or gloved hands, spread the paste throughout the oven’s interior
- Pay special attention to:
- Heavy grease spots
- Burnt-on food
- Corner areas
- Door edges
- AVOID covering:
- Heating elements
- Gas vents
- Temperature sensors
5. The Waiting Game
- Let the paste work its magic for 6-12 hours
- For best results, apply before bedtime and let it sit overnight
- The paste will gradually turn brown as it absorbs grease
6. The Vinegar Activation
- Fill your spray bottle with white vinegar
- Thoroughly spray all paste-covered surfaces
- Watch the satisfying fizzing reaction as the vinegar meets baking soda
- Let it bubble for 5-10 minutes
7. The Final Clean
- Using a damp microfiber cloth, wipe away all residue
- Rinse your cloth frequently with clean water
- Repeat until all surfaces are clean and residue-free
- Dry thoroughly with a clean cloth
8. Rack Cleaning
While the oven paste is working, clean your racks:
- Fill your bathtub or large sink with hot water
- Add ¼ cup dish soap
- Soak racks for 30-60 minutes
- Scrub with a non-abrasive brush
- Rinse thoroughly
- Dry completely before returning to oven
Maintenance Tips
Keep your oven cleaner longer with these practices:
- Place a baking sheet below dishes that might bubble over
- Clean spills promptly once the oven cools
- Wipe down the oven weekly with vinegar solution
- Use oven liners to catch drips
- Consider monthly light cleanings instead of occasional deep cleans
The Science Behind the Clean
This natural cleaning method works through several mechanisms:
- Baking soda (sodium bicarbonate) breaks down grease and proteins
- Vinegar (acetic acid) reacts with baking soda to lift stuck-on debris
- The fizzing action helps loosen baked-on foods
- Natural soap surfactants cut through oils
When to Deep Clean
Schedule a deep clean when you notice:
- Visible grime buildup
- Smoke during preheating
- Strong odors while cooking
- Reduced cooking efficiency
Troubleshooting Tips
Stubborn Spots?
- Apply extra paste to problem areas
- Let sit for additional time
- Use a plastic scraper gently
- Repeat the process if necessary
Preventing Future Buildup
- Use oven-safe containers with good coverage
- Clean spills promptly after cooling
- Consider using a splatter guard
- Regular light cleaning prevents heavy buildup
Environmental Impact
By choosing this natural cleaning method, you’re:
- Reducing chemical pollution
- Minimizing packaging waste
- Using renewable, biodegradable ingredients
- Protecting water systems from harmful chemicals
Final Thoughts
Natural oven cleaning might take a bit more time than chemical alternatives, but the benefits far outweigh the extra effort. You’ll enjoy:
- A truly clean oven
- Peace of mind about food safety
- Better indoor air quality
- Money saved on expensive cleaners
- A more sustainable household
Start your natural oven cleaning journey today and experience the satisfaction of a chemical-free clean!
Remember to always test any cleaning solution on a small area first, and ensure proper ventilation during cleaning.
