## Caramel Apple Jam: Your New Favorite Fall Spread!
Forget pumpkin spice – this fall, your taste buds are in for a truly delightful treat! Imagine the comforting aroma of caramelized sugar mingling with the crisp sweetness of fresh apples, all transformed into a luscious, spreadable jam. Caramel Apple Jam isn’t just a condiment; it’s a hug in a jar, perfect for slathering on toast, swirling into yogurt, or even dolloping onto ice cream. Get ready to fall in love with this easy-to-make, incredibly delicious recipe that captures the essence of autumn in every spoonful!
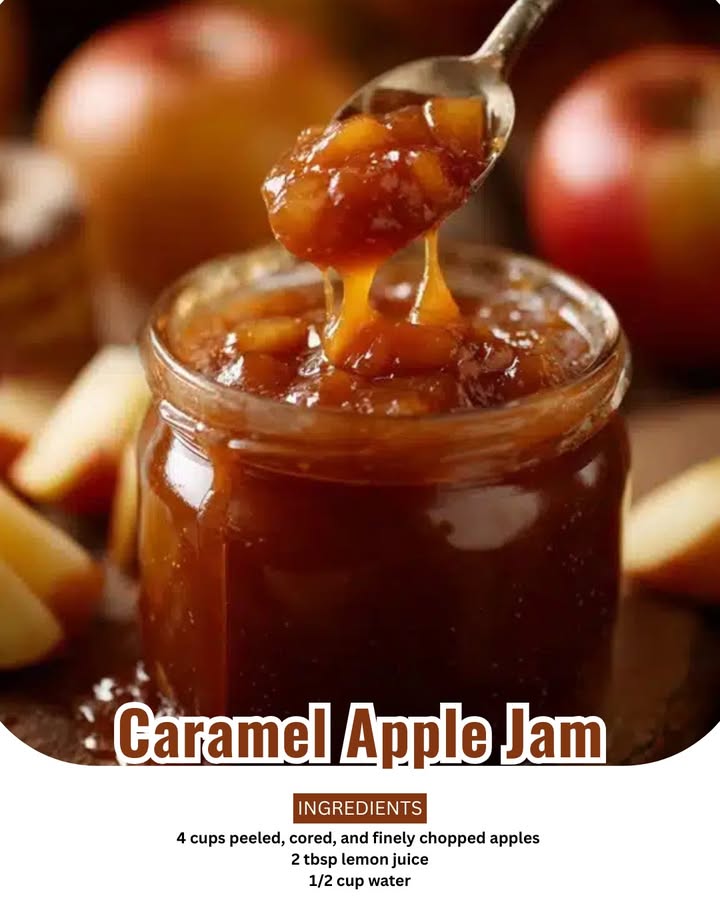
### Ingredients
* 4 lbs Granny Smith or Honeycrisp apples, peeled, cored, and finely diced
* 1 cup granulated sugar
* 1 cup packed light brown sugar
* 1/2 cup apple cider
* 1/4 cup unsalted butter
* 1 teaspoon ground cinnamon
* 1/2 teaspoon ground nutmeg
* 1/4 teaspoon ground cloves
* 1 tablespoon fresh lemon juice
* Pinch of salt
Step-by-Step Instructions : . . .
To Complete Step By Step Instructions Please Head On Over To Next Page Or Open button (>)
### Instructions
1. **Prepare the Apples:** In a large, heavy-bottomed pot or Dutch oven, combine the diced apples, granulated sugar, and brown sugar. Stir well to coat the apples evenly. Let the mixture sit for about 30 minutes to an hour, allowing the apples to release their juices.
2. **Start Cooking:** Add the apple cider, butter, cinnamon, nutmeg, cloves, lemon juice, and a pinch of salt to the pot with the apples. Place the pot over medium heat and bring the mixture to a gentle boil, stirring occasionally.
3. **Simmer and Reduce:** Reduce the heat to low and let the jam simmer, uncovered, for 1 to 1.5 hours, or until the apples are very soft and the jam has thickened to your desired consistency. Stir frequently, especially towards the end, to prevent sticking. Use an immersion blender or a potato masher to break down any larger apple chunks, if you prefer a smoother jam.
4. **Caramelization Check:** As the jam thickens, the sugars will caramelize, giving it that beautiful golden-brown color and rich caramel flavor. Do a “plate test” to check for doneness: spoon a small amount of jam onto a chilled plate. Let it sit for a minute, then drag your finger through it. If the line holds and doesn’t fill in, your jam is ready.
5. **Jarring the Jam:** Carefully ladle the hot jam into sterilized canning jars, leaving about 1/4 inch headspace. Wipe the rims clean, center the lids, and screw on the bands until fingertip tight.
6. **Water Bath Canning (Optional but Recommended):** For long-term storage, process the jars in a boiling water canner for 10 minutes (adjusting for altitude if necessary). Remove the jars and let them cool completely on a wire rack. As they cool, you’ll hear the satisfying “pop” of the lids sealing.
7. **Store and Enjoy:** Once cooled, check the seals. Any unsealed jars should be refrigerated and consumed within a few weeks. Sealed jars can be stored in a cool, dark place for up to a year.
### Short Tips
* **Choose the right apples:** Granny Smith provides tartness and holds its shape well, while Honeycrisp offers sweetness and a lovely texture. A mix of both is excellent!
* **Don’t skip the lemon juice:** It brightens the flavor and helps with pectin activation, which is essential for proper gelling.
* **Stir, stir, stir:** Especially in the later stages of cooking, frequent stirring will prevent the jam from sticking and burning.
* **Taste and adjust:** Feel free to adjust the spices to your liking. A tiny pinch of cayenne pepper can add a surprising and delicious warmth!
* **Sterilize your jars properly:** This is crucial for safe canning and prevents spoilage.
* **Get creative!** This jam is fantastic on so much more than just toast. Try it with cheese and crackers, swirled into oatmeal, or even as a filling for tarts.
