
## Amish-Inspired Slow Cooker Berry Jam: A Neighbor’s Secret Recipe
There’s something truly special about a homemade jam, isn’t there? The way the vibrant fruit bursts with flavor, the sweet aroma filling your kitchen… it’s pure comfort in a jar. Today, we’re diving into a recipe that feels like a warm hug from a trusted friend – an Amish-inspired slow cooker berry jam, passed down from a wonderful neighbor. Get ready to transform simple berries into a luscious spread with minimal effort!
### Ingredients
* 4 cups mixed berries (fresh or frozen – strawberries, blueberries, raspberries, blackberries all work wonderfully)
* 2 cups granulated sugar (adjust to your sweetness preference)
* 2 tablespoons lemon juice (freshly squeezed is best!)
* 1/2 teaspoon ground cinnamon (optional, but adds a lovely warmth)
### Step-by-Step Instructions : . . .
To Complete Step By Step Instructions Please Head On Over To Next Page Or Open button (>)
<--nextpage-->
### Instructions
1. **Prepare the Berries:** If using fresh berries, gently rinse and hull strawberries or remove any stems. If using frozen berries, there’s no need to thaw them beforehand.
2. **Combine Ingredients:** In your slow cooker insert, combine the mixed berries, granulated sugar, lemon juice, and ground cinnamon (if using). Stir gently to ensure all the berries are coated.
3. **Slow Cook:** Cover the slow cooker and cook on **LOW for 4-6 hours** or on **HIGH for 2-3 hours**. The cooking time will vary depending on your slow cooker and the desired consistency of your jam.
4. **Stir and Mash (Optional):** After about 2-3 hours on LOW (or 1-1.5 hours on HIGH), stir the mixture. If you prefer a smoother jam, you can use a potato masher or the back of a spoon to gently mash some of the berries against the side of the slow cooker.
5. **Achieve Desired Consistency:** Continue cooking until the jam thickens to your liking. It should coat the back of a spoon. Remember, it will thicken further as it cools.
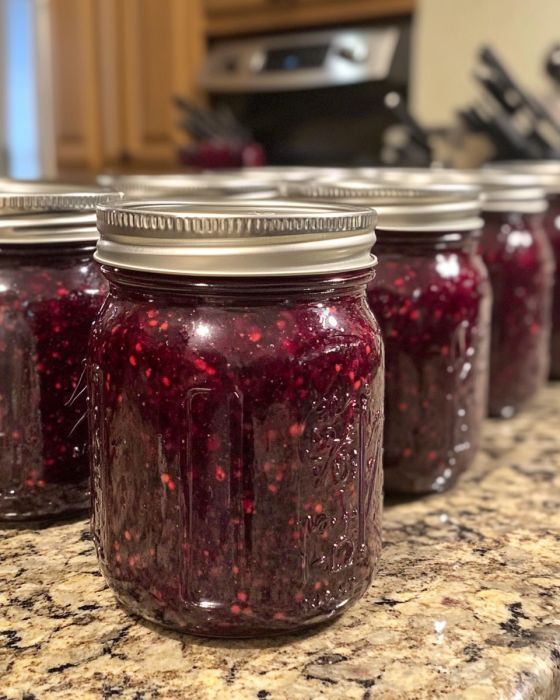
6. **Jar It Up:** Carefully ladle the hot jam into sterilized jars, leaving about 1/4 inch of headspace.
7. **Seal and Store:** Screw on the lids tightly. Allow the jars to cool completely on the counter. Once cooled, store the jam in the refrigerator for up to 3 weeks or process for longer-term storage (follow USDA guidelines for canning if you plan to can it).
### Short Tips
* **Sterilize Jars:** Before filling, make sure your jars and lids are clean and sterilized to ensure jam longevity.
* **Taste Test:** Always taste the jam before the final cooking stage and adjust sugar or lemon juice if needed.
* **Don’t Overfill:** Leave adequate headspace in jars for proper sealing.
* **Gift Idea:** This jam makes a wonderful homemade gift! Tie a pretty ribbon around the jar.
* **Versatility:** Enjoy this jam on toast, pancakes, waffles, stirred into yogurt, or even as a topping for ice cream.
